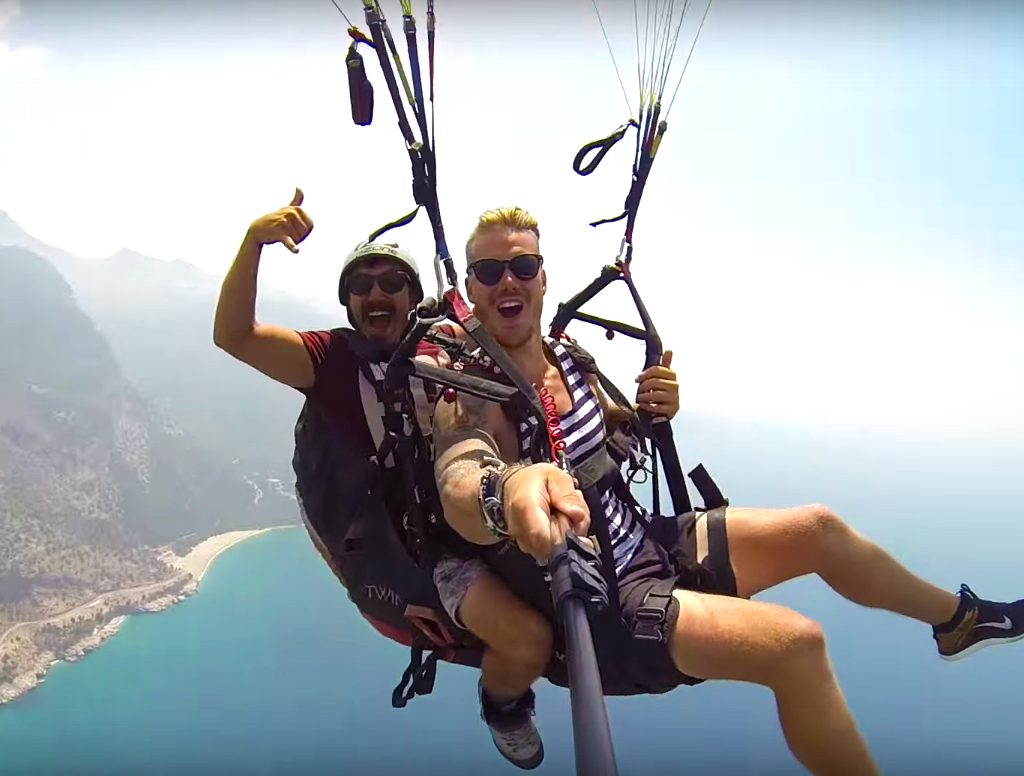
When you start to go over some of the travel footage you recorded during your last trip, you may want to edit in to make it look better before you upload it to social media or share it with your friends. In particular one nice effect that could really give your travel videos a unique appearance is if you speed up part of them.
By speeding up part of your travel video and making it go in ‘fast motion’ so to speak, you will be able to blaze through some parts of the video. In short you could fast forward some of the less-interesting bits and then slow down for the highlights, before speeding up again to the next highlight. That way you minimize the time spent on the less interesting parts while still showing them anyway.
Although learning how to speed up a video may sound complicated, with Movavi Video Editor it isn’t going to be anywhere near as difficult as you think. In fact, you can speed up your video by just following these steps:
-
- Click ‘Add Media Files’ and select the travel video that you want to edit.
-
- Open up the ‘Tools’ tab.
- Open up the ‘Tools’ tab.
-
- Locate the ‘Speed’ slider and move it to the right to increase the speed.
- When you’re satisfied, hit ‘Export’ and save your video.
If you only want to speed up part of your video then you should split it into segments before increasing the speed. Also, when you do increase the speed of your videos it may sound strange (because the audio speed has been increased too). To fix that all you need to do is mute the audio and either add the original sound or use some other audio file as background music instead.
Before you save the final version of your travel video, you should also make full use of the other features in Movavi Video Editor. With a few clicks you could enhance the quality of your videos, split and join segments of video, add audio tracks, place text fields, apply special effects, and a whole lot more.
In fact you may want to consider using Movavi Video Editor to create a montage from the video footage you recorded during your trip. Just trim out any unwanted parts of your videos, merge them together, and liven things up a bit with some background music, special effects, and so on.
Frankly you’ll be surprised just how easy it is to create an amazing-looking travel video with Movavi Video Editor. Once you try it out, odds are you’ll want to edit any and all of the travel videos that you post onto social media and other platforms too.
